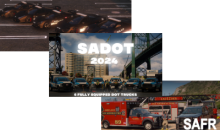


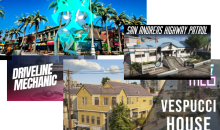


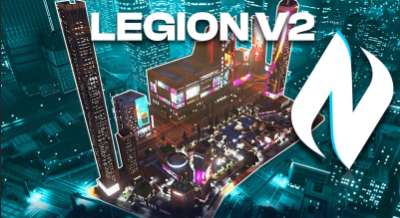
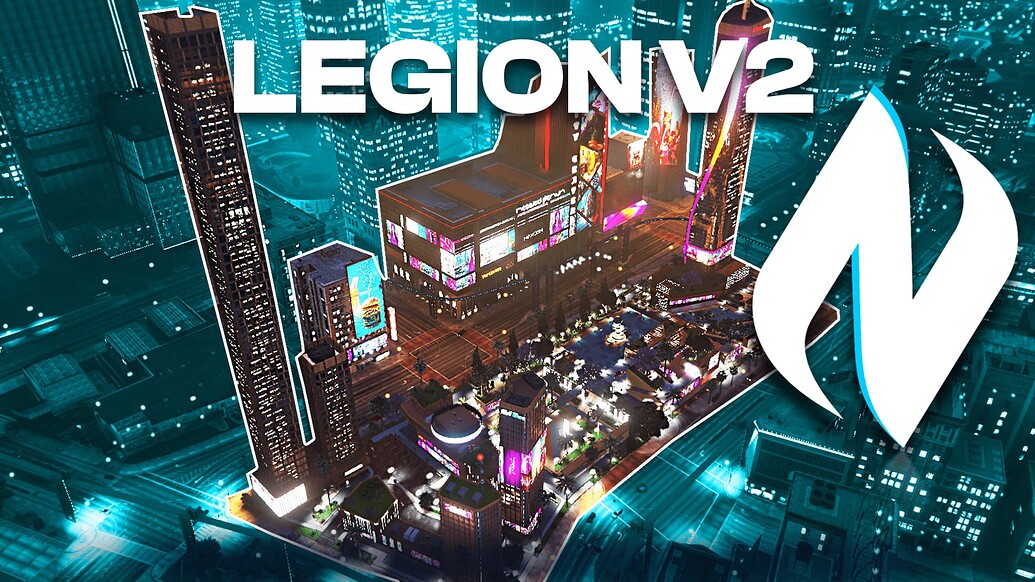
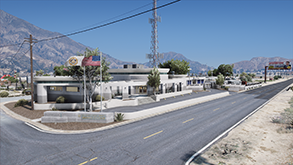
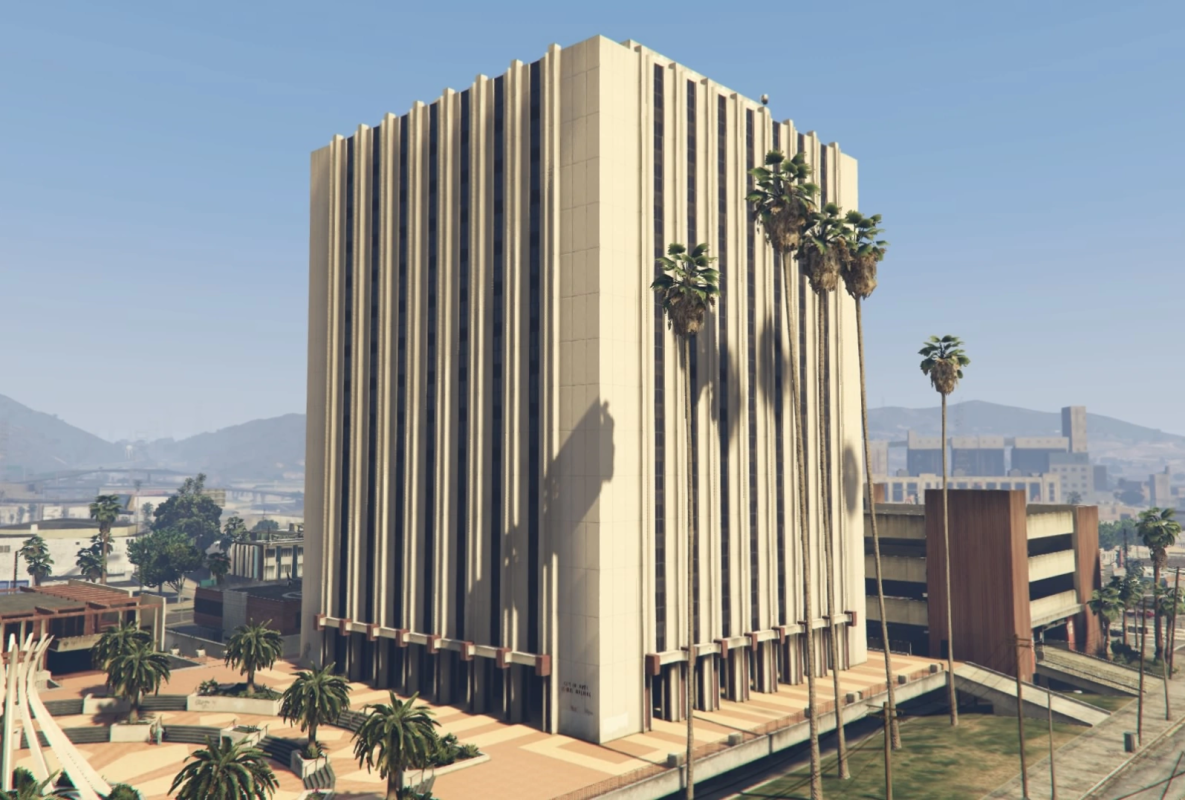
Legion Square Extended V2
$39.00Features:
- Redesigned Fleeca interior on Legion Square + all other Fleeca banks
- 5 new buildings on the legion ( non interior )
- Redesigned buildings arround legion
- Clothing store interior
- 24/7 Store interior
- Night bar
- DJ and Party area
- Park
- 9 Parking slots for vehicles
- Animated bilboards
- Disable options:
_Disable sidewalk arround
_Disable modded building textures arround
_Disable logos
_Disable animations
_Disable signs
_Disable addon lightbollard
_Disable billboards
Dependencies
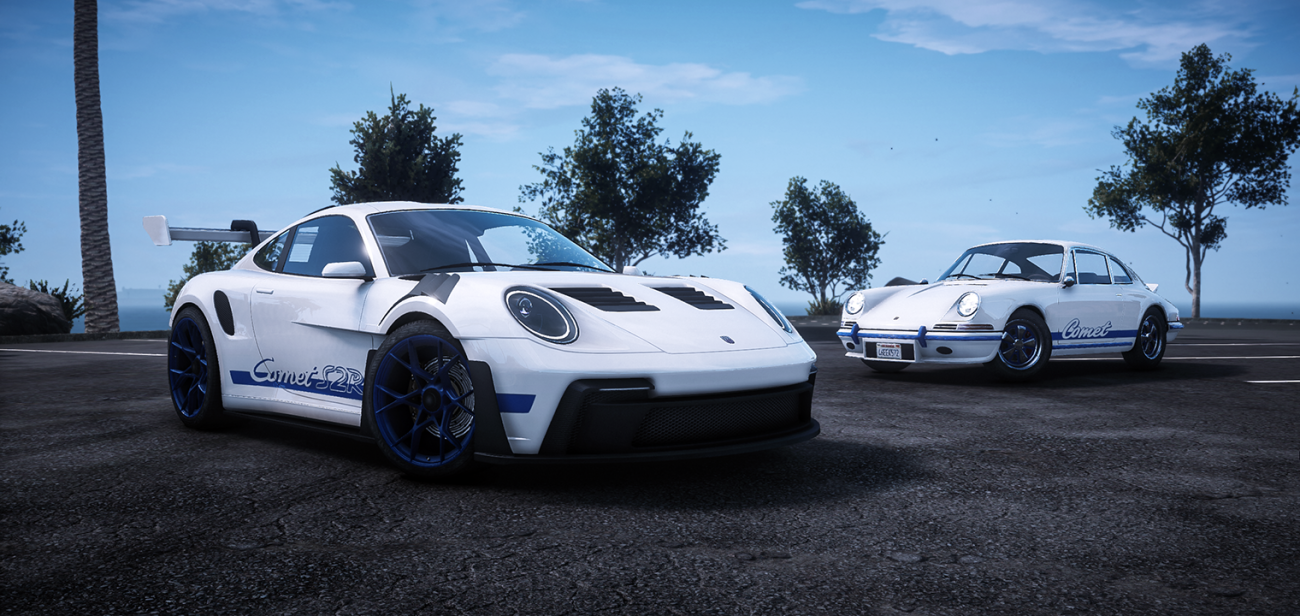
Liberty I Pack
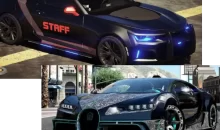
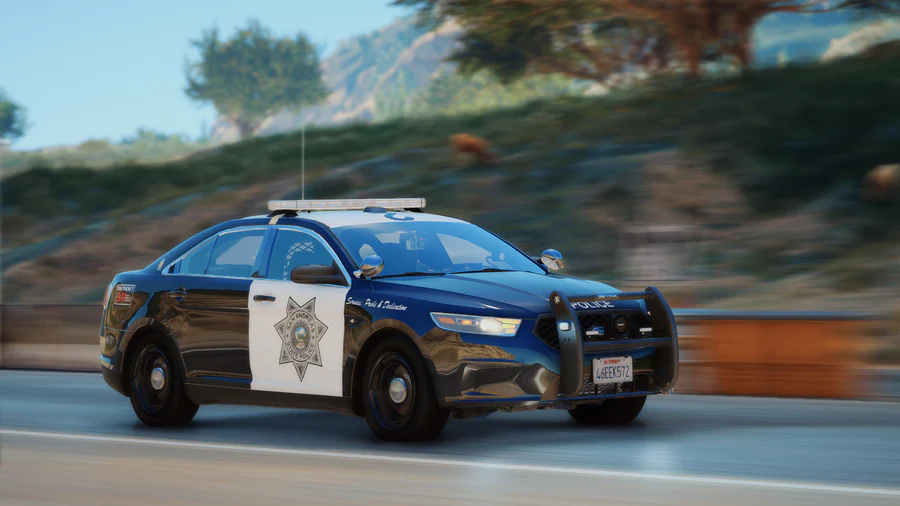
原价为:$199.00。$39.90当前价格为:$39.90。Vehicles Included:
-6 SUVs
-5 Sedans
-3 Trucks
Options Included:
-Full Lighting Template
-Window Templates
-Functional Takedown and Cruise Lights
-Moveable Spotlight
-All Blue Version
-Badged variations
-Full LOD’s and optimized YTD’s
Extras:
1: Lightbar, 2: Visor Lights, 3: Lower Windshield Lights, 4: Rambar, 5: Wraparound, 6,7: Spotlights, 8: Cruise Lights, 9: Grill Lights, 10,11: Antennas, 12: Takedowns
If you have any questions about the details of a product please don’t hesitate to ask in the official Ripples Development LLC Discord!
NOTICE: The items listed for purchase on this website are artistic interpretations of realistic emergency vehicles. The items are sold exclusively by Ripples Development, LLC, and are not sponsored by or affiliated in any way with the manufacturers of the vehicles, parts or pieces of equipment that may be depicted or inferred.
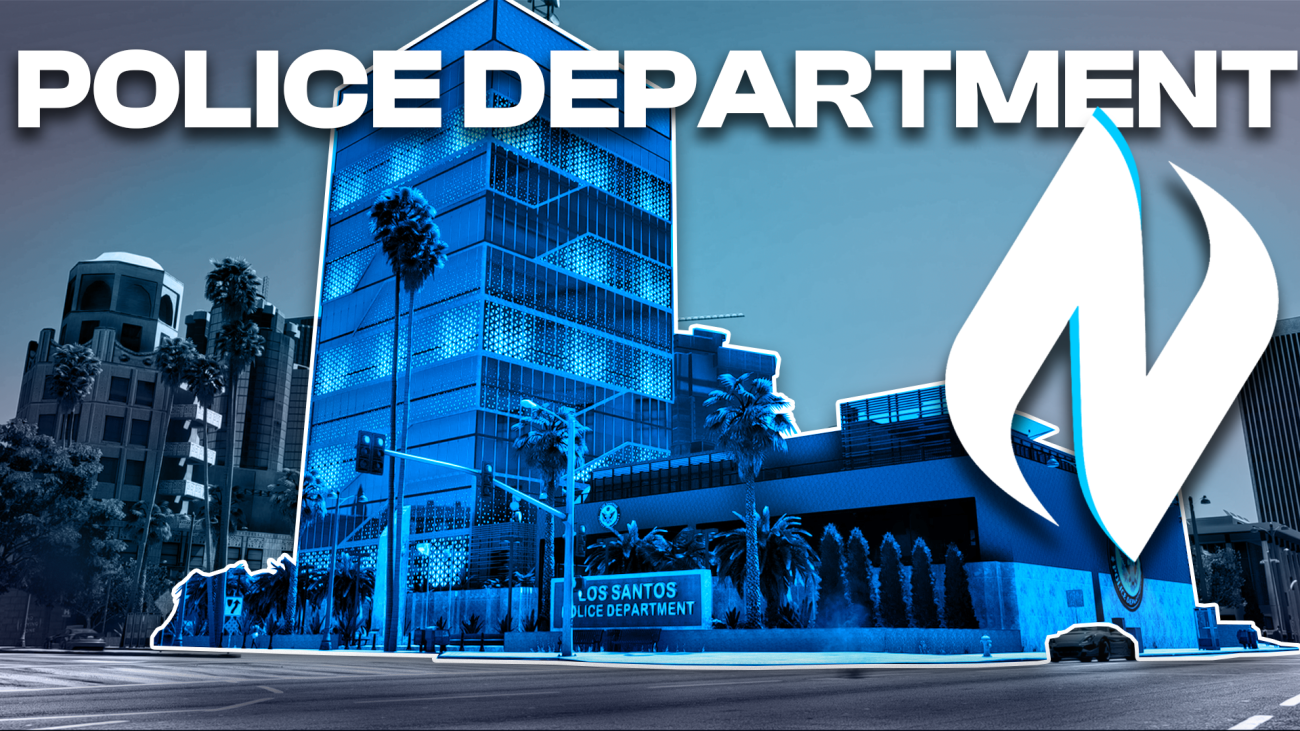
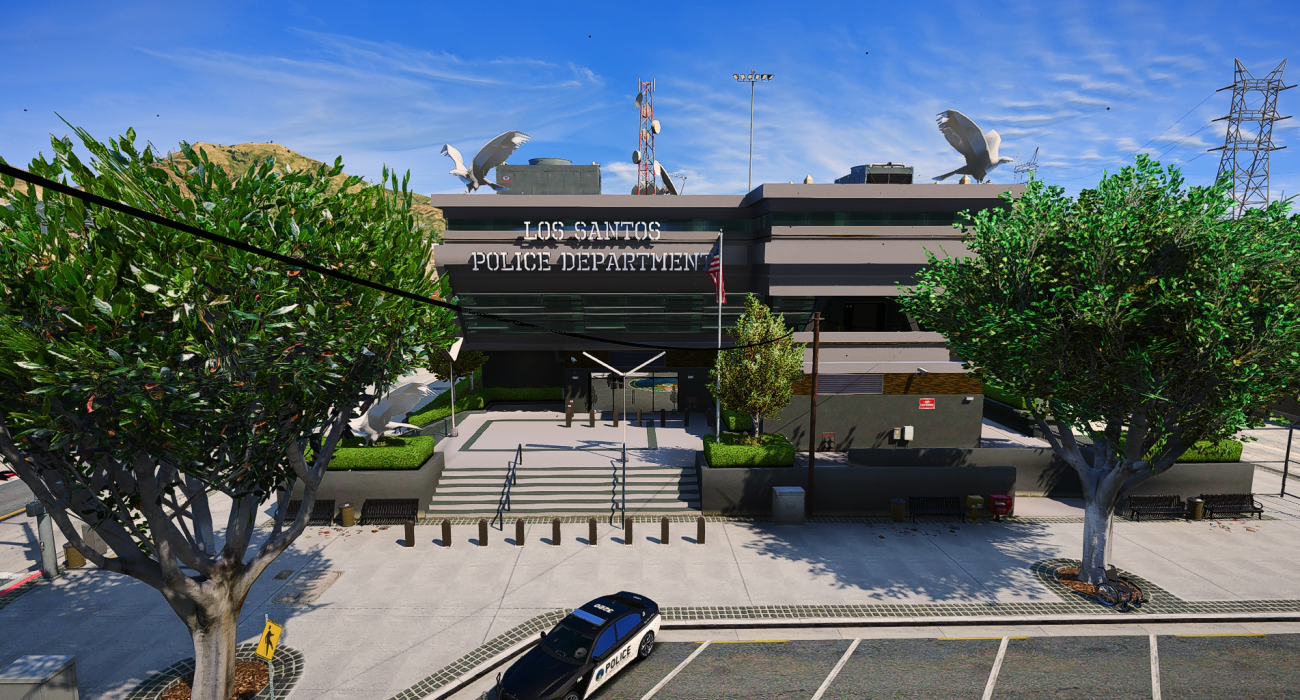
Los Santos Police Department
$29.90- Lobby
- Waiting Room
- 2x Meeting Room
- Press Room
- Command Office
- Wittness Protection
- Psychobiology
- Forensic Lab
- Microfilm
- Open Office Floor
- Helipad
- Case Investigation Room
- Dispatch Room
- Legal Affairs
- Kitchen with Chill Room
- Lockers
- Armory
- 2x Mugshot
- 2x Interrogation Room
- Evidence Room
- 12x Cells
- Garage with gas pump
Dependencies
- GameBuild 2699+
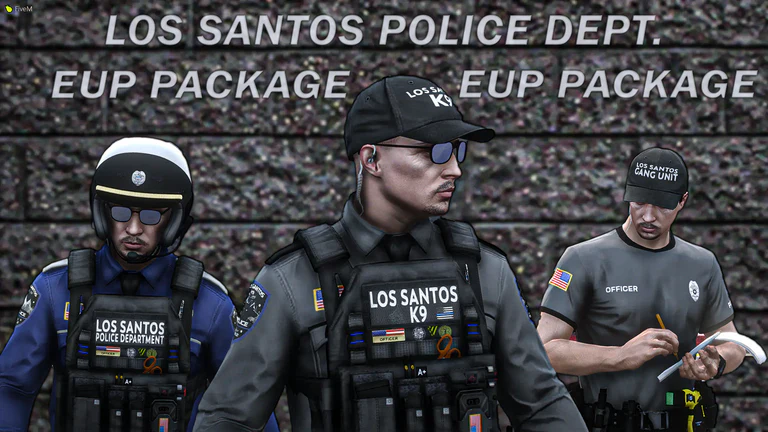
LSPD EUP Package
原价为:$25.00。$12.99当前价格为:$12.99。This LSPD EUP Pack is a product perfect for all RP servers. It includes a range of different models for both male and female and fits perfectly with the LSPD Livery Pack which can be purchased here. The EUP fits greatly with the newest version of EUP available for your RP Servers and comes FiveM Ready making it easy for you to just drag and drop with no hassle.
This package includes:
- CUSTOM BADGES
- CUSTOM MODELS
- JPC AND PATROL VEST INCLUDED!
- CUSTOM LOGOS AND DETAILED EMBROIDERY
- X3 DIFFERENT PATROL SHIRTS FOR DIFFERENT RANKS
- SUBDIVISIONS SUCH AS SWAT, MOTOR UNIT, K9 UNIT, DETECTIVES, AIR SUPPORT, MARINE UNIT
- SUPPORTS BOTH MALE AND FEMALE
- CUSTOM HATS EXCLUSIVE TO THIS EUP
- LAGGO EMERSION VEST TEXTURES
- JACKETS FOR PATROL, K9
Need help installing? Open a ticket in our discord and we can do this for you.
LSSD Senora Station
$29.90Presenting the LSSD Senora station! This structure occupies a previously vacant and neglected area in Sandy Shores. Modeled after the authentic Lancaster station, it bears numerous resemblances. Included in this map is a completely operational MLO, featuring an array of rooms for you to explore. This map is only available as a FiveM resource
- Download the package.
- Drag ‘lssdsenora’ to your resources folder or give it a new name as per your preference.
- ensure the resource folder in your server.cfg file.
Luxury car series
$50.00In this video, we’re introducing 60+ new custom vehicles in the biggest FiveM vehicle update ever made! From trucks and classic cars to sports cars and job-oriented vehicles, this update has something for every roleplayer in the GTA V community. Our vehicles come with extensive customization options, including liveries that you can design yourself, or choose from our pre-made liveries. Whether you’re into high-speed chases, roleplaying as a delivery driver, or managing a fleet of police cars, this update is for you! Tune in to get a closer look at all the lore-friendly vehicles we’ve designed to fit seamlessly into the GTA world.
MISSION ROW POLICE DEPARTMENT
$26.00This is my new Police Department in Los Santos. Back to the “Roots” – the MRPD ist the best Choice! I removed the whole
Building inside and create a new, modern Department.
Features
1 Big Lobby Room with Connection to all Offices, Meeting Rooms and More
15 Office Rooms in the Lobby
2 Office Rooms in the Backfloor
4 Interogation Rooms
1 Witness Protection Room
2 Toiletts
1 Break Room
1 Area for K9 Outside in the Old Garage
1 Mugshot
1 Armory
1 Evidence Chamber
2 Locker Rooms
2 Garages, 1 Garage for Staff with Repair and Tuning Boxes, 1 for Suspects
1 Big Cell Room with 7 normal Cells and 1 Holding Cell
Balcony Entrance
Added Stair outside for Side Entrance
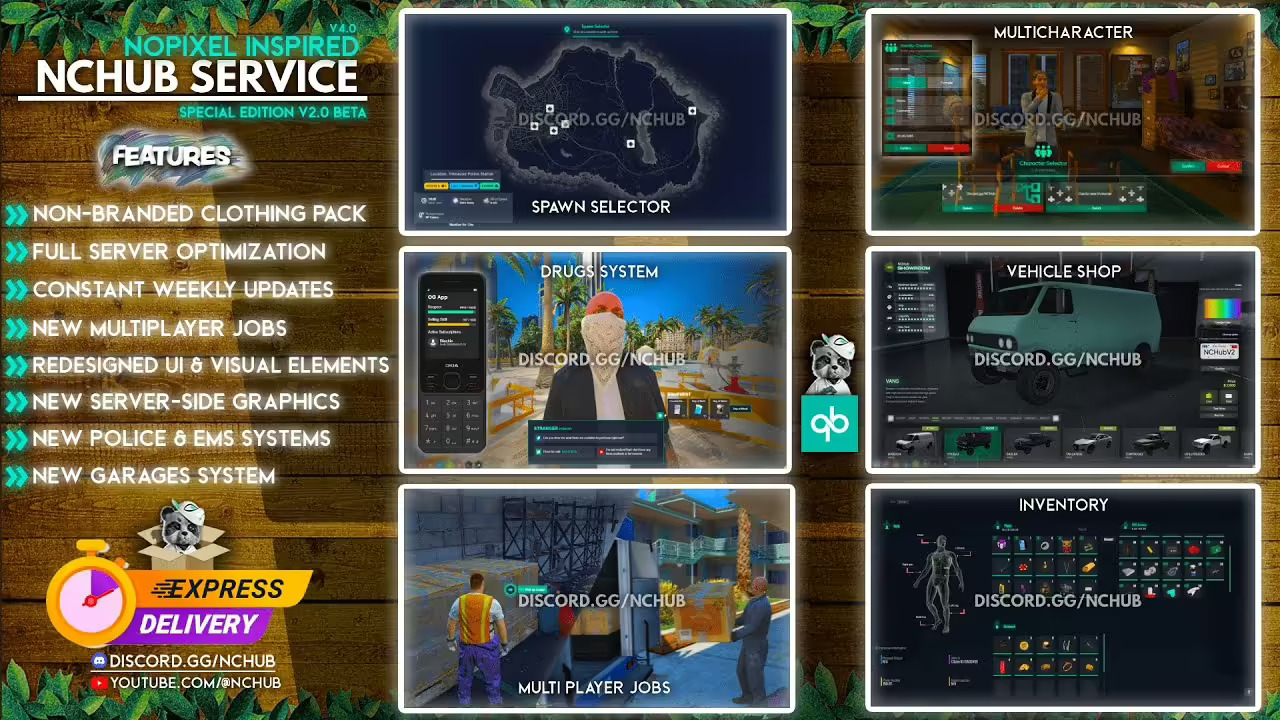
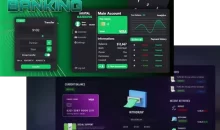
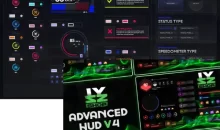
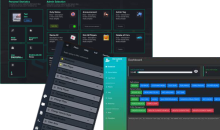
NCHUB V2.0 | NoPixel Inspired
原价为:$199.00。$59.00当前价格为:$59.00。Features:
- Non-Branded Clothing Pack: Enjoy a wide range of stylish, non-branded clothing options for your characters.
- Full Server Optimization: Experience smoother gameplay with our fully optimized server for better performance.
- Constant Weekly Updates: Stay engaged with regular weekly updates introducing new features and improvements.
- New Multiplayer Jobs: Dive into fresh multiplayer job opportunities for enhanced cooperative play.
- Redesigned UI & Visual Elements: Navigate with ease through our revamped user interface and stunning visual elements.
- New Server-Side Graphics: Appreciate the new and improved graphics running server-side for a more immersive experience.
- New Police & EMS Systems: Engage with advanced police and emergency medical services systems for more realistic role-playing scenarios.
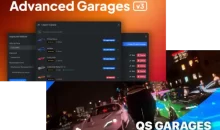
- New Garages System: Manage and store your vehicles efficiently with the new garages system.
Showcase:
- Spawn Selector: Easily choose your spawn location with our intuitive spawn selector interface.
- Multicharacter: Seamlessly switch between multiple characters with our multicharacter management system.
- Vehicle Shop: Browse and purchase a variety of vehicles from our updated vehicle shop.
- Drugs System: Explore the comprehensive drugs system for realistic and dynamic gameplay.
- Inventory: Manage your items efficiently with the enhanced inventory system.
- Multiplayer Jobs: Participate in new and engaging multiplayer jobs to collaborate with other players.
Our Server Satisfaction Guarantee: If the setup doesn’t work on your server or hosting environment, we’ll provide you with an alternative setup from our full range of FiveM servers at no extra cost.
New Speedometer
Speedometer and other vehicle dashboard stuff. NOW with AIRBAGS.
Speed, turn signals, hazards, engine health, fuel guage, altimeter (flying vehicles), headlight indicator (high/low beams), seatbelt functions (ejection on impact), cruise control.
Many configurable options like MPH/KPH, turn seatbelt functions on/off for everyone or for just emergency vehicles, set key binding for signals and seatbelts and cruise control.
Turn signals automatically shut off after making a turn.
Brake lights light up when you’re at a stop.
Fuel guage works with LegacyFuel or any fuel system that uses in-game fuel stats.
There is a seatbelt reminder chime but it only lasts a few seconds when you first get in the vehicle and doesn’t sound again unless you get out and back in. I did not want it to be annoying which those are sometimes.
This matches the BigDaddy-HUD design as well, for displaying health, armour, money, etc.
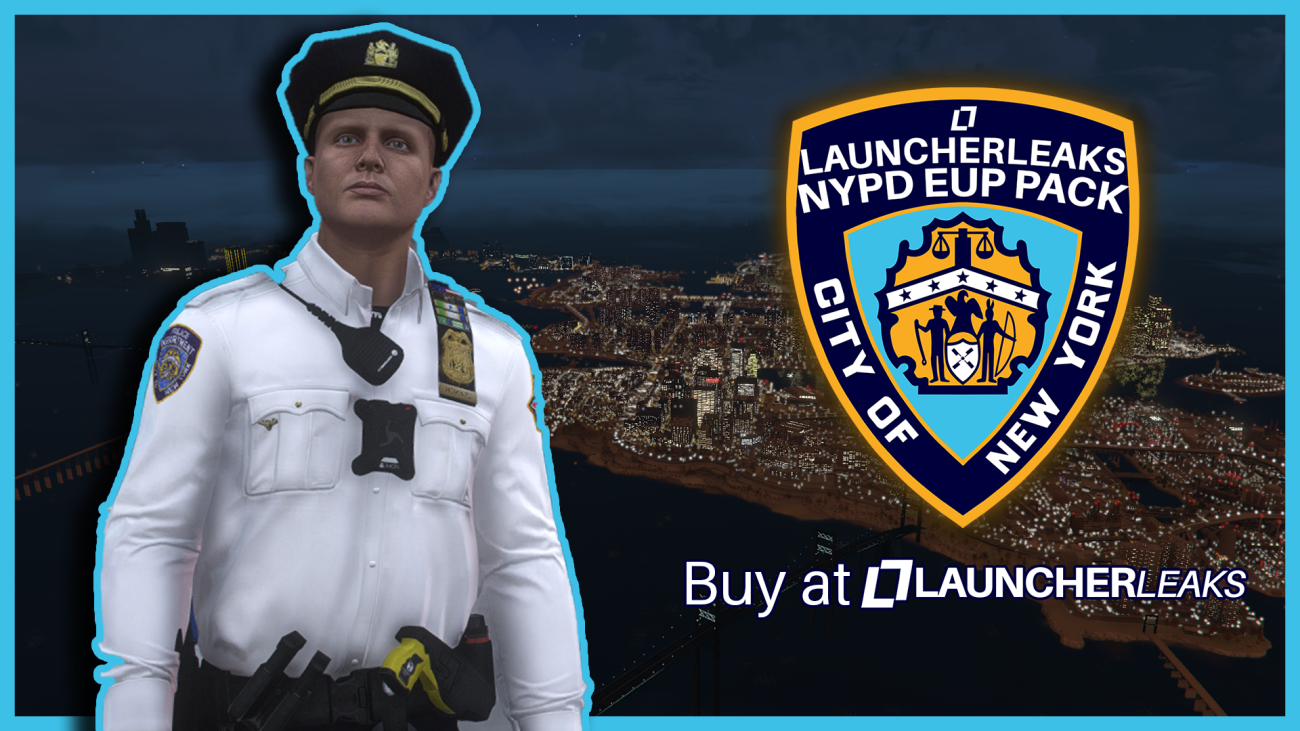
New York Police and Fire EUP 1.5.1
原价为:$30.00。$19.90当前价格为:$19.90。The Pack Includes:
- NYPD Patrol, Command, Auxiliary, Port Authority, Traffic & School Safety, Pilot and Highway Uniforms
- NYPD SWAT
- MTAPD Patrol Uniforms, K9, SWAT
- MTA Uniform with Command Shirts
- NYFD Bunker and Turnout Gear
- NYFD EMS Outfits and Response Uniforms
- Including a complete pack of cars, boats, helicopters and heavy vehicles for NYPD, MTAPD, NYFD!
- Including Glasses, Hats, Gloves, Vests, Belts, Radios with bodycams and other popular clothing items found in EUP Packs (Mechanix Gloves, Oakleys)
This pack is of very high quality and has to be some of the best out there in terms for New York EUP and we believe you will get your moneys worth buying this pack.
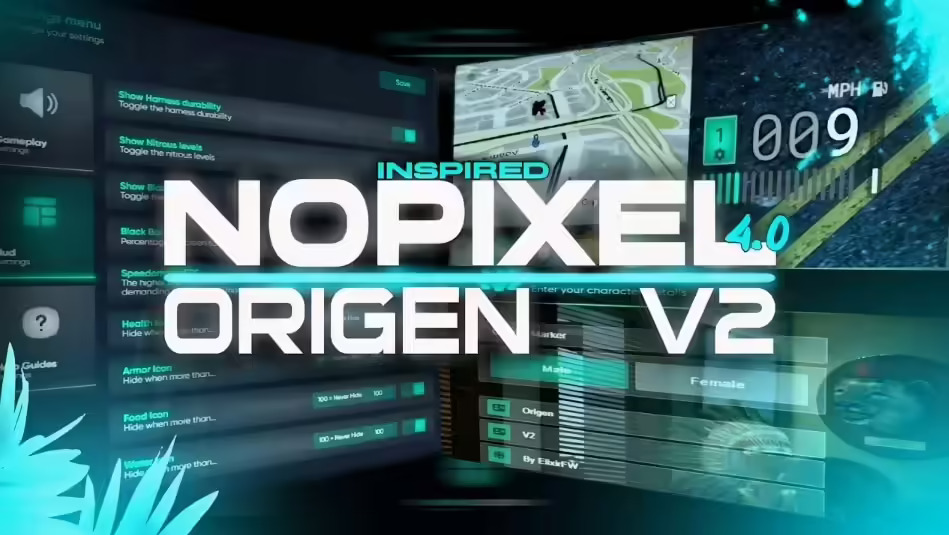
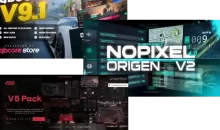
NoPixel 4.0 (QBCore) ORIGEN V2
原价为:$320.00。$59.00当前价格为:$59.00。For the best experience and assurance, contact us directly. We are not responsible for any issues if you purchase from other sources.
Our offerings include:
- Custom jobs and scripts
- Based on the latest QBCore framework
- Includes unique robberies and jobs
- A comprehensive roleplay server, ready to install and launch
- The first and finest available in the market
- NoPixel 4.0 inspired UI
- Includes complete NP 3.8 and 4.0 assets (vehicle packs, clothes packs, weapons packs, and more)
- Also includes a server-side graphics pack
Check out the video preview down below. 🙂
This version is made by us – avoid buying it via other sources. It is only made by us!
Our Server Satisfaction Guarantee: If the setup doesn’t work on your server or hosting environment, we’ll provide you with an alternative setup from our full range of FiveM servers at no extra cost.
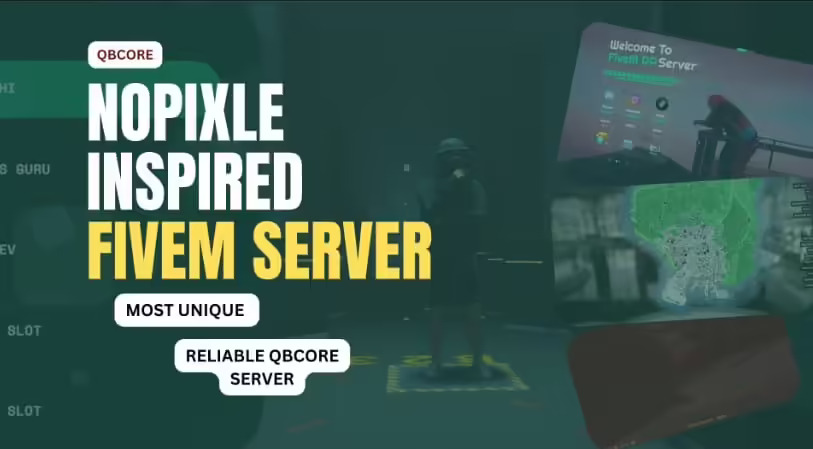
NoPixel 4.0 inspired – Server
原价为:$99.00。$30.00当前价格为:$30.00。This server is completely built based off (inspired by) NoPixel 4.0
- Nopixel 4.0 inspired scripts
- More premium scripts
- 250 Resouces
- Premium car pack
- Ultra rare Heists and much more.
Our Server Satisfaction Guarantee: If the setup doesn’t work on your server or hosting environment, we’ll provide you with an alternative setup from our full range of FiveM servers at no extra cost.
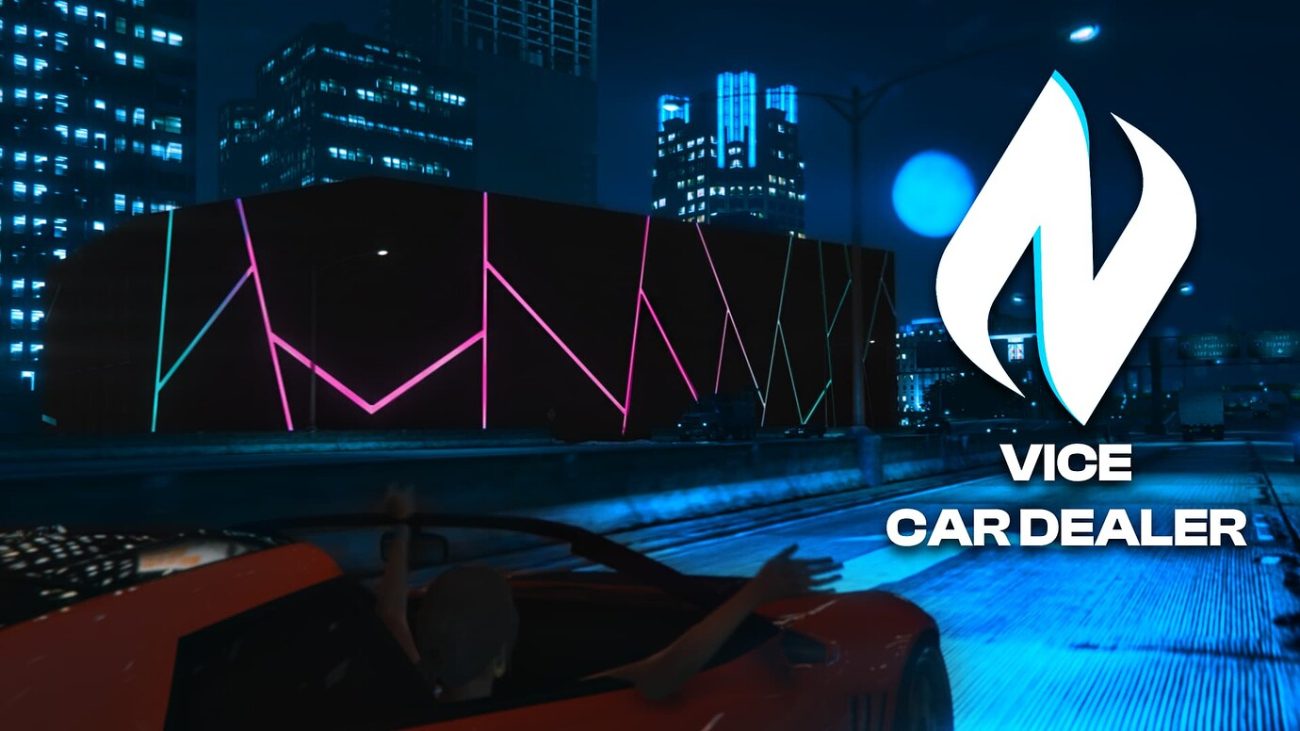
NTeam | Vice Car Dealer
$9.90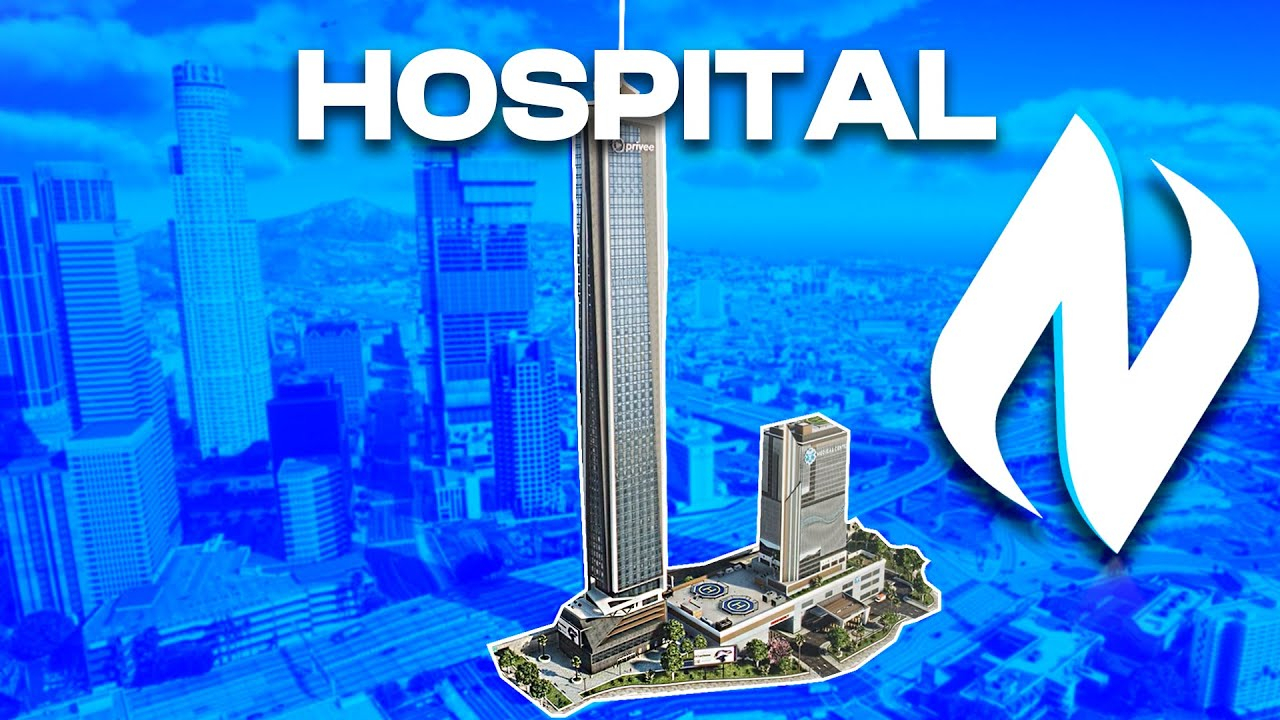
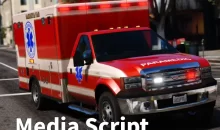
nteamdev HOSPITAL
$39.90
Features
- Open textures
- Two separate hospital buildings
- 1x Ordinary hospital
- 1x Emergency hospital
- The tunnel that connects emergency and the ordinary hospital
- Emergency entrance
- Main entrances
- 2X enterances from outdoor seating area
- 1X side enterance
- 3X Helipads
- 1X helipad stairs w/ rooftop enterance
- 1X stairs w/ enterance to rooftop garden
- Big garage ( 12 vehicles parking spots )
- Parking ( 22 parking slots )
- Big lobby w/ 4 desks, 37x seats
- Cafeteria w/ outdoor seating area ( 80x seats ) and kitchen
- Two-counter pharmacy
- Digital wayfinding kiosks all over the interior
- Gift shop
- Securty room
- Changing room
- Elevators
- Toilets
- 2x Medical examination
- Eye doctor room
- Dentist
- 4X patinet rooms with 22x beds in total
- 3X VIP patient rooms with TV, Sofa, dining table
- Shower room w/ toilet
- 1X Staff room
- 1x Director office
- Emergency lobby & desks
- 2X Emergency operating rooms
- 1X Shower room in emergency building
- 2X Toilets in emergency building
- 1X X-Ray room in emergency building
- 1X Surgery room in emergency building
- 1X Intensive care room in emergency building w/ 8 beds
- 1X Autopsy room in emergency building
- 1X Crematorium room in emergency building
- 1X Laboratory room in emergency building
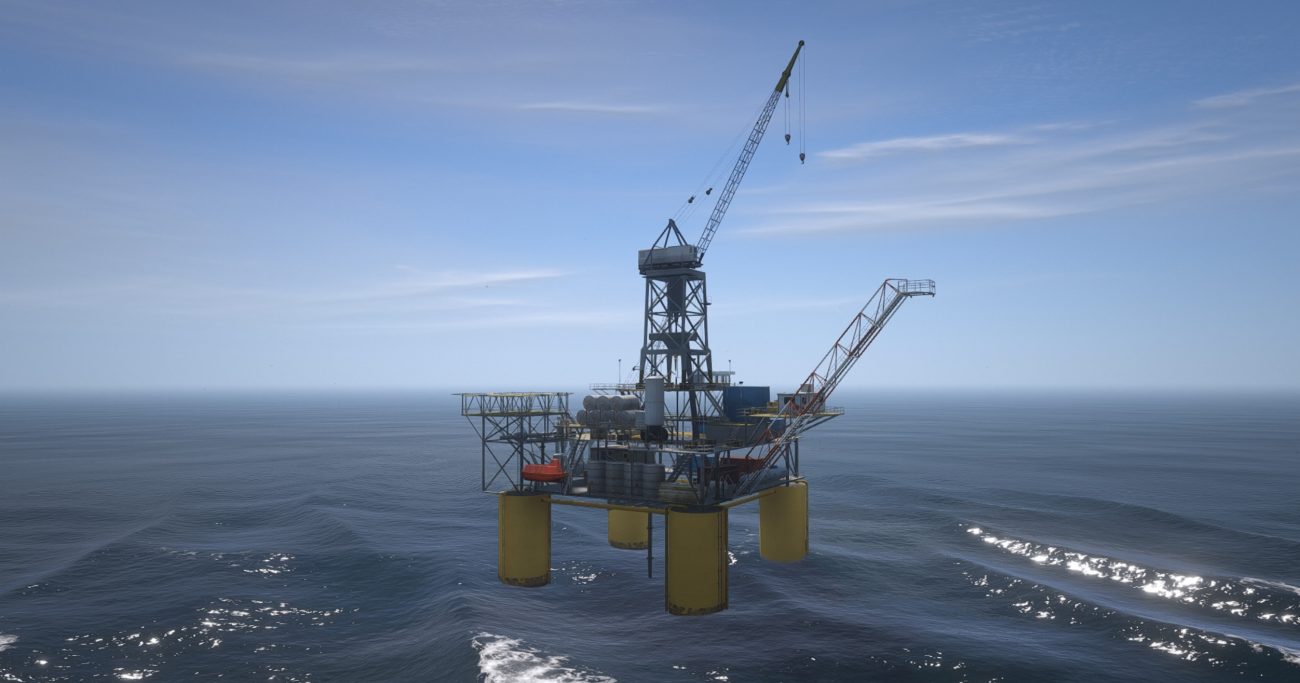
Oil Rig
$9.901st Oilrig Coords: -2729, 6607, 29
2nd Oilrig Coords: -1426, 7274, 30
Oil rig/platform with navmesh ready for heist scripts etc.
Recommended to use together with Rainmad Oil Rig Heist or Samuel Oil Rig Heist or Project X Oil Rig or JustScripts Oil Rig [FREE]
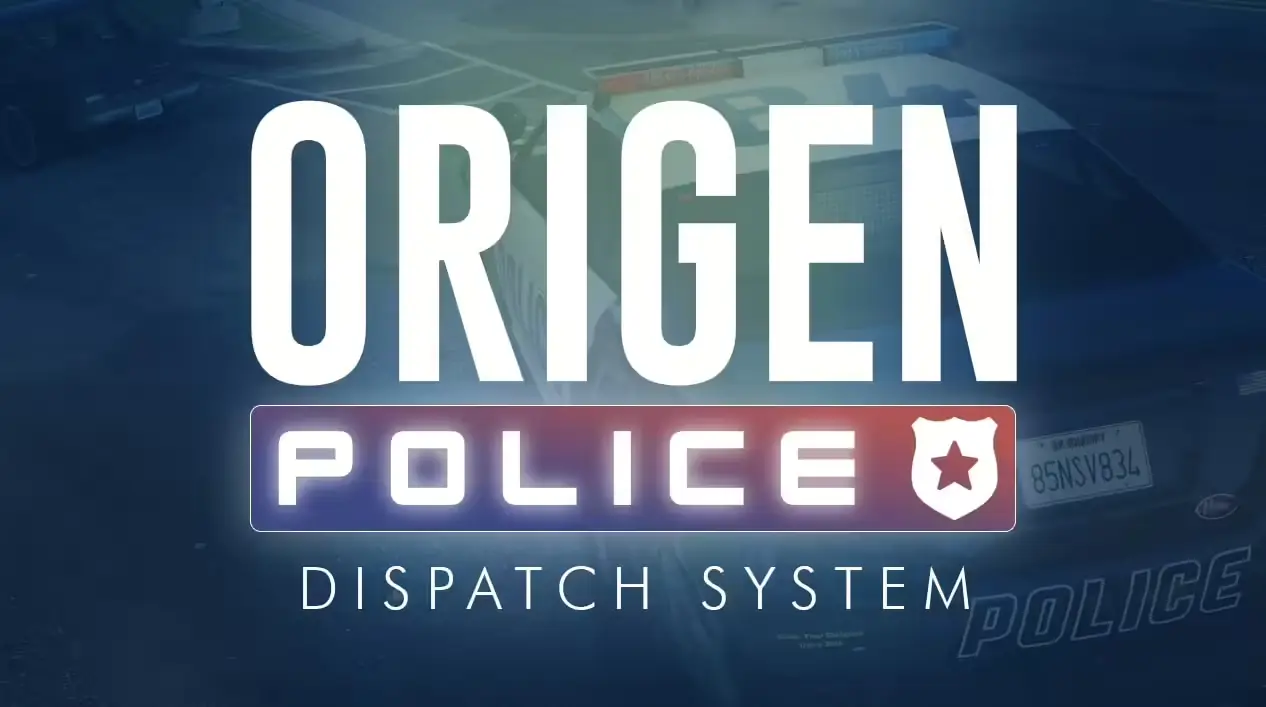
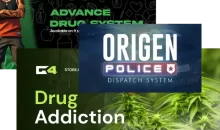
Origen Police
原价为:$99.00。$25.00当前价格为:$25.00。“Origen Police” – Elevate Your FiveM Server’s Law Enforcement.
Immerse players in realistic police action with this detailed police script. Experience thrilling pursuits, investigations, and customizable gameplay in Los Santos. Optimized for performance and security.

Pickle Police Tools (Package)
原价为:$59.00。$39.00当前价格为:$39.00。特征
- 头盔
- 夜视
- 热成像
- 同步手电筒
- 盾牌
- 附带两个默认盾牌,您可以添加更多盾牌。
- 您可以在使用盾牌时瞄准和使用武器。
- 蛇形摄像机
- 使用蛇形相机窥视房间内部
- 您可以设置摄像机可以移动的距离。
- 紧急按钮
- 使用 /panic 命令调用 backup 请求。
- 您还可以使用该项目调用 backup 。
- 当 item 处于启用状态时,需要 panic 项。
- 随身摄像机
- 具有实际运行时间的 Overlay。
- 更改时,设置会自动保存。
- 紧急警报系统
- 提供团体和项目支持。
- 警报消息的文本转语音阅读(由于 CEF 的限制,英语似乎是口语时唯一支持的语言,没有英语的书面语言仍然可以工作)。
支持的框架
- ESX 1.1+ & 旧版
- QB核心
- 独立
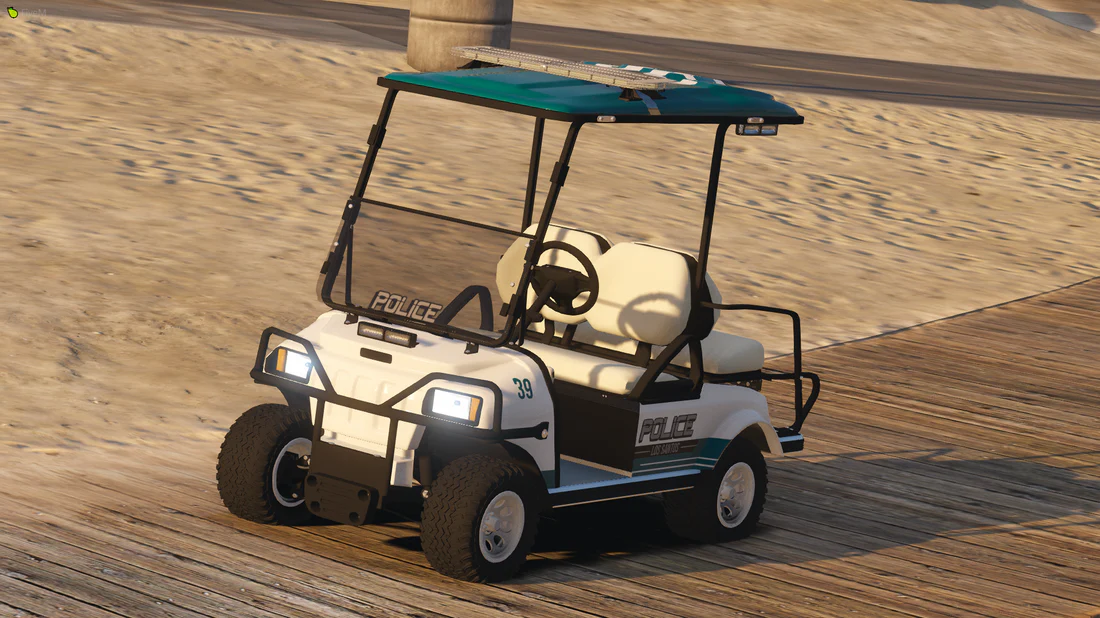
Police Golf Cart
This vehicle comes with a lot of different things.
This vehicles comes in RED & BLUE and BLUE & BLUE lighting.
Supports Multi liveries
Comes with both window and body template
Comes with 4 seats
NON-ELS
—————————
extra-1 = lightbar
extra-2 = cruise lights
extra-3 = visor
extra-4 = dashlight
extra-5 = back underseat lights
extra-6 = back top lights
extra-7 = side lights
extra-8 =
extra-9 =
extra-10 =
extra-11 =
extra-12 =
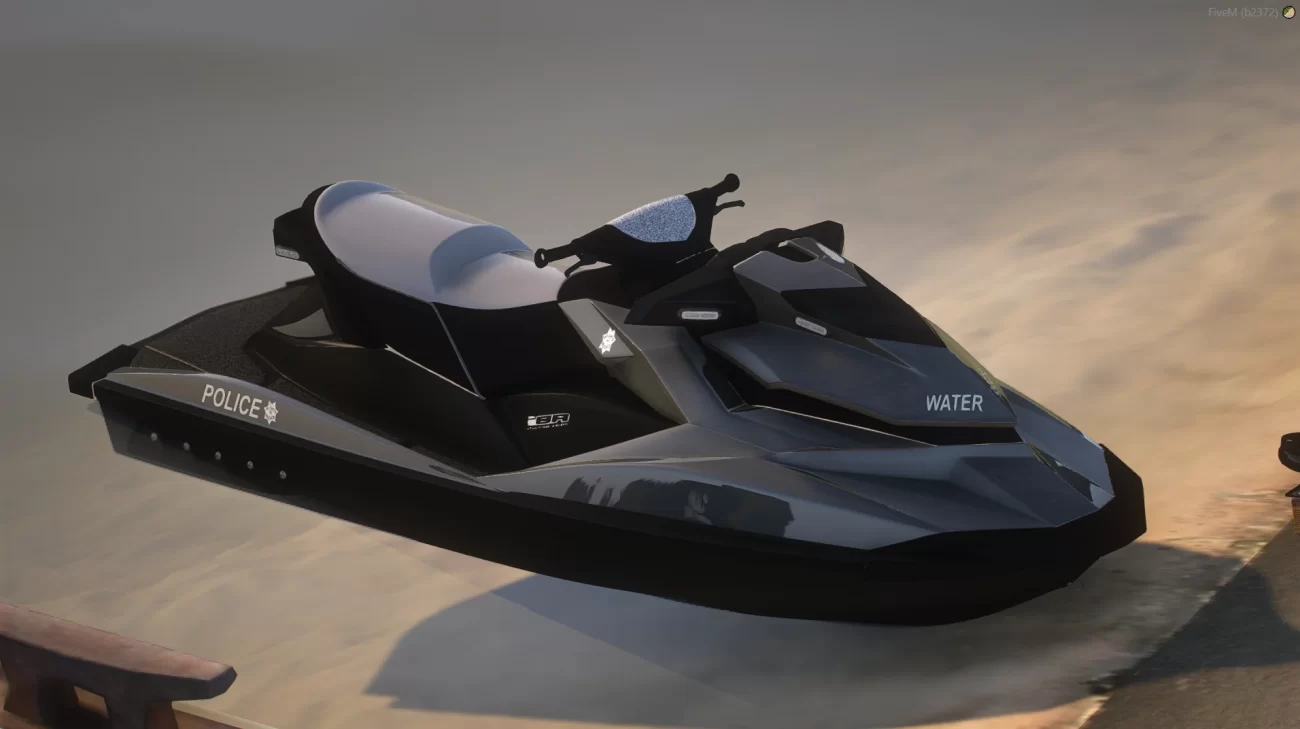
Police Jetski + Trailer
原价为:$5.00。$3.99当前价格为:$3.99。This jetski comes in RED & BLUE and BLUE & BLUE lighting.
Non-ELS
Has 2 seats
Has a template
Supports multi Liveries
—————————
extra-1 = front lighting
extra-2 = front side lighting
extra-3 = back side lighting
extra-4 = back lighting
extra-5 =
extra-6 =
extra-7 =
extra-8 =
extra-9 =
extra-10 =
extra-11 =
extra-12 =